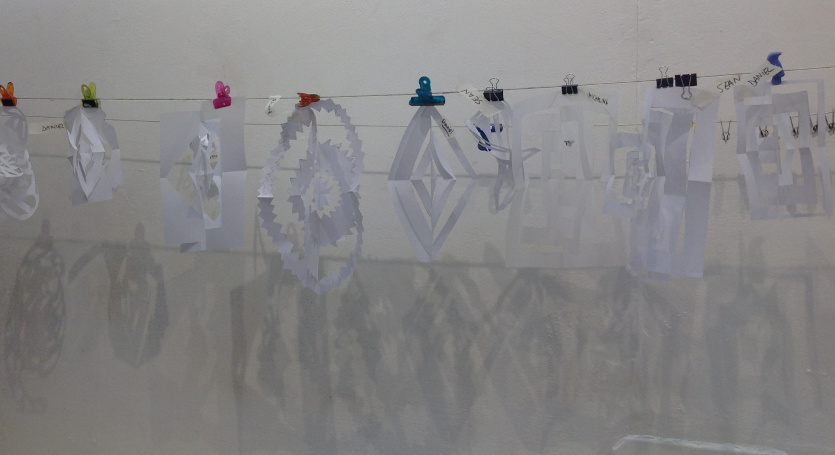
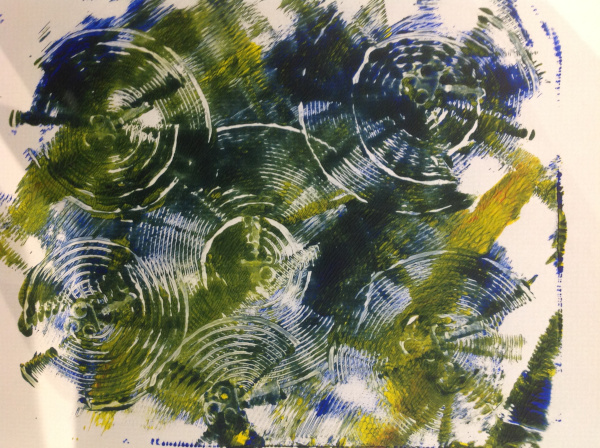
This week we had great fun designing and making stencils. Using craft knives very carefully and either card or acetate the kids made really fun and interesting stencils, which they then worked with very imaginatively – working out how they could overlap as well as playing with the colours (high contrast worked well) and the sponges on sticks we used were great to blend with. It’s a really versatile print making technique.
This week everyone was focused on making new lines – how by varying the implement, or how you hold and move it, you can convey different movements, emotions and feelings, even if drawing the same object, or none! To start with I asked everyone to work on the floor, in pastel or chalk and on big paper so they had to use their whole arm – not just their hands. Their task was to invent lines to convey different movements e.g ice skating,…
This lesson was all about frottage – that is rubbing. So of course the children scoured the studio looking for different textures to make rubbings from, and investigated how moving the paper while you rub can achieve interesting effects (especially over the edges of the tables). But in addition, I showed them another really easy printmaking technique based on rubbing where you cut out paper shapes, stick them (in layers if wanted) on a piece of paper to make a plate, and then…
Woo we are back – old and new faces, and a new class for teenagers! First week started irreverently with ‘updating’ (which could mean defacing) our collection of art magazines. I wanted the students to choose an image that resonated with them and find a way to change or update it. This could be with scissors, marker pen and/or the photocopier. Love what several did with splicing different images together (or the same one, changed) or using the photocopier to multiply the image.…
As autumn approaches I’ve been thinking back to the fun we had during the summer holiday classes. We sculpted, painted, constructed, drew, stamped, built, cut, stuck, collaged, printed… and more! Particularly loved the papier mache constructions so simple but effective. Make simple cardboard and/or newspaper base – we had a rabbit, a bus, a boat, a crown, a cake – it really can be anything as long as it’s stable enough – and then cover it in newspaper strips dipped in diluted PVA.…
To showcase all we’ve achieved this past few years – both in person and online – we had a fantastic exhibition of art work by the adults and children who’ve been attending our art classes – supporting and being supported by Art CLASS London. It was a really lovely evening, full of joy and celebration, and a great chance for all our artists to meet and share their experiences and achievements. These kinds of events where artists can get together and not only…
It was the last week of term this week so we made masks ready to wear for the end of term exhibition! We had templates to start with but many children decided against these weren’t the shapes they wanted and they needed to start from scratch. I’d provided lots of different materials to attach to them (sequins, feathers, cardboard packaging, patterned papers etc.) as well as paint. Some children even added sculptural elements like beaks and horns. The results were all so different…
This week the challenge was to make sculptures out of some sheets of white paper (and some tracing paper for an interesting alternative). After demonstrating how to safely use scalpels I showed them some basic methods to start with, but many invented their own methods. No sellotape and only small amounts of glue were needed to make these intricate and delicate sculptures – some were creatures, some were abstract, all were beautiful. This was a challenge set by Josef Albers to his students…
So this week I let the kids go wild with cardboard, glue and other assorted packaging! We first found a few basic ways of making the cardboard go high but stable (such as slits, flanges, stacks and bookends). And then the children went crazy with their sculptures and even inventions – see the happiness machine!
