All Posts

Exploring paper weaving

Exploring paper weaving

This week I showed the kids some basic, and some more complex, ways of weaving with paper. With help from Naomi Kendall, who provided this helpful post on the subject, we made some beautiful designs,  using both strips of coloured paper and strips of magazines to make some v beautiful patterns. Of course, you don’t need to keep to the regular patterns I demonstrated. Some adventurous children deviated from the patterns with strips of different widths, as well as colours which did not…

Marvel at our marbling!

Marvel at our marbling!

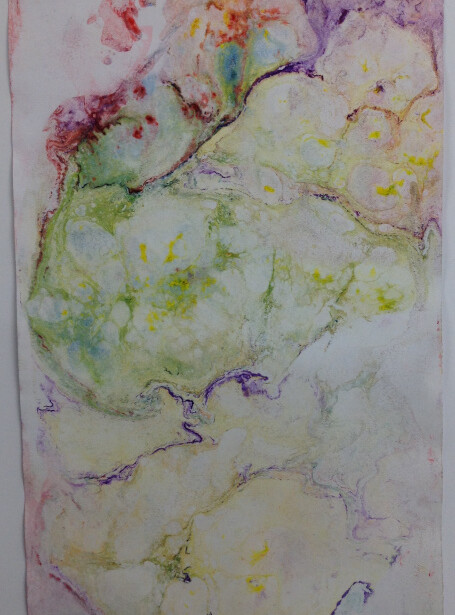
Exciting this week as the kids tried their hands at marbling – with some always unexpected, beautiful results. Marbling is an ancient technique of paper decoration, in which paint is dropped into the ‘size’ which is water thickened with a special powder. (traditionally a type of seaweed). Because of this thickener the paint sits on top of the surface of the water and from there it’s possible to take a print. Before you do that though you can manipulate the paint on the…

Paper mosaics

Paper mosaics

Week 2 and this week we made paper mosaics. But we weren’t limiting ourselves to the simple, regular square types, oh no. We had strips, rectangles, dots, the lot! And used magazines as well as coloured card. A really simple technique, ideal for the younger ones, is to cover a piece of paper in strips and then on the reverse draw the outline of an animal  (remember to choose an animal that is recognisable from its silhouettes – so generally this means side-on).…

Tissue paper magic!

Tissue paper magic!

Welcome to our new term! This term will be all about paper! Each week a different activity using paper (or card).. First up was tissue paper – surprisingly versatile. While of course you can make some lovely collages with tissue paper, especially using its translucency to create different colours where they overlap, and coating in diluted PVA to bring out those colours. But you can also use bleeding tissue paper to stain the paper you are working on – as one child said,…

Modroc sculpture – part 3

Modroc sculpture – part 3

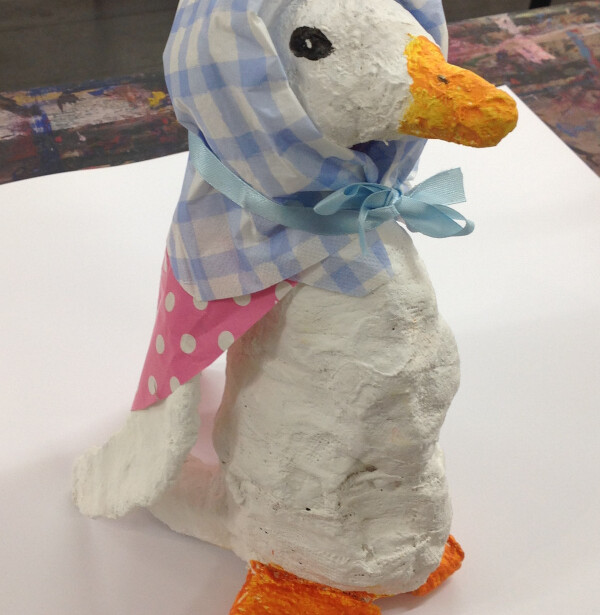
Last week of term this week so yes, it’s time to paint the modroc sculptures! Everyone came with brilliant ideas of how to paint the sculptures they’ve been making the past two weeks. We used acrylic paint which is easy to paint details or corrections on top, once dry. Some even added other elements such as tissue paper wings or paper clothing. Love the results!  

Wire and modroc sculpture – part 2

Wire and modroc sculpture – part 2

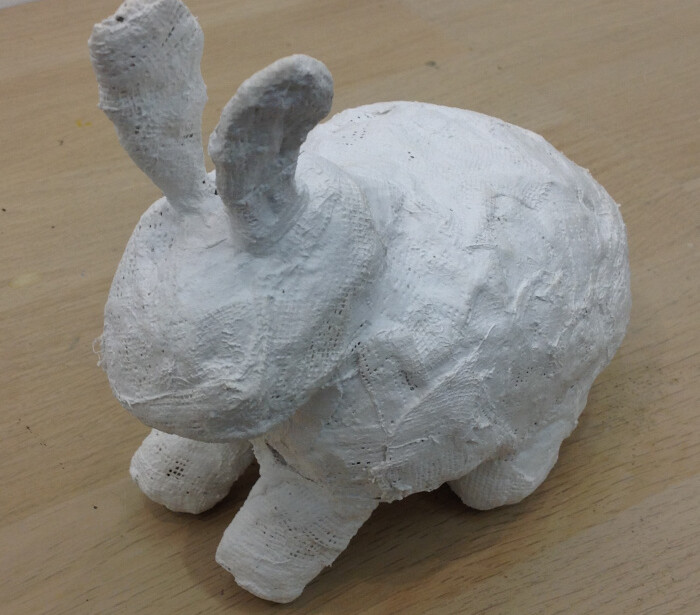
This week we were ready to add modroc to the wire sculptures we made last week. Though of course for some, the wire was a perfect medium for their creatures and they started afresh today. The trick with the modroc is to keep it wet while you’re working. If you let it dry it’s harder to add more layers, or to alter the ones you have. For this you also have to keep your water fresh – once it’s cloudy it needs replacing.…

Wire and modroc sculpture – part 1

Wire and modroc sculpture – part 1

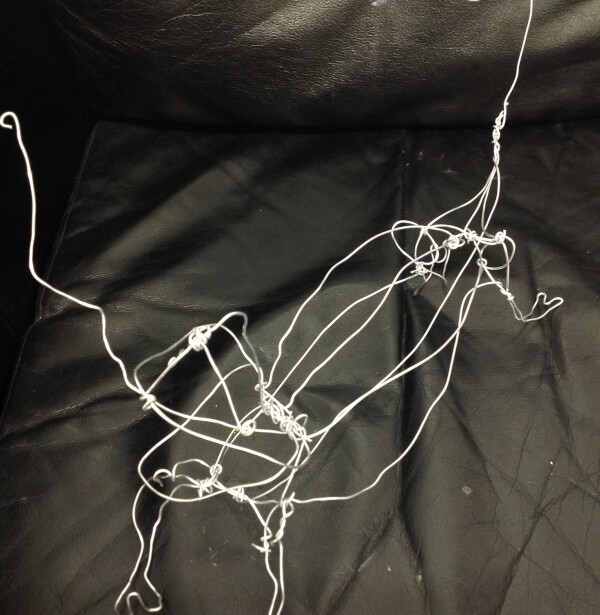
For the last three weeks of term we are working on a sculpture project. First step was making the armature using aluminium wire. The kids chose a wide range of objects – animals, food items, flowers and body parts. The trick was working with a long piece, and leaving enough space to join the next. We had wire cutters and also long nose pliers for bending and manipulating the wire, which gives more control than using fingers. I showed them how to join…

Easy blending with oil pastels

Easy blending with oil pastels

So this week we tacked oil pastels. Technically this is painting but it feels much more like drawing. To create the most vibrant colours I suggested using three colours which are close together on the colour wheel in every section – so never using one pastel on it’s own. Then if you use each one in small circles, leaving tiny gaps, rather than blocking in an area like a felt tip pen, when you add another colour to fill in the gaps you…

Articulated creatures – ready to animate!

Articulated creatures – ready to animate!

This week we made articulated creatures – so creatures with movable limbs. This activity really tested the kids’ ability to think like an engineer. After drawing their creature normally they had to work out which parts would move, then draw those parts separately, scaled up, not forgetting to include space for the parts and the body to overlap to contain the join. Not as easy as they first thought! The joins were simple wire spirals made on the front and back. This enabled…