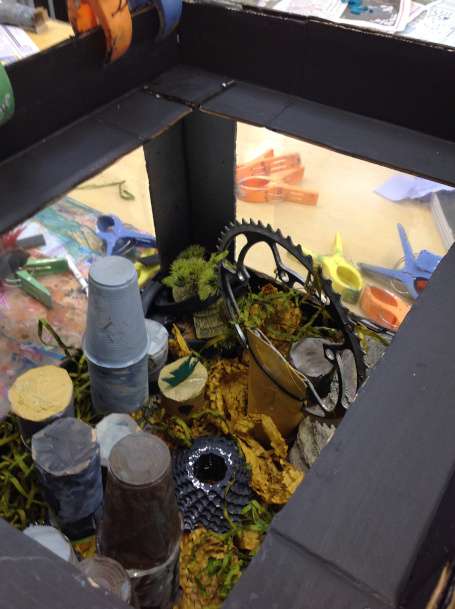
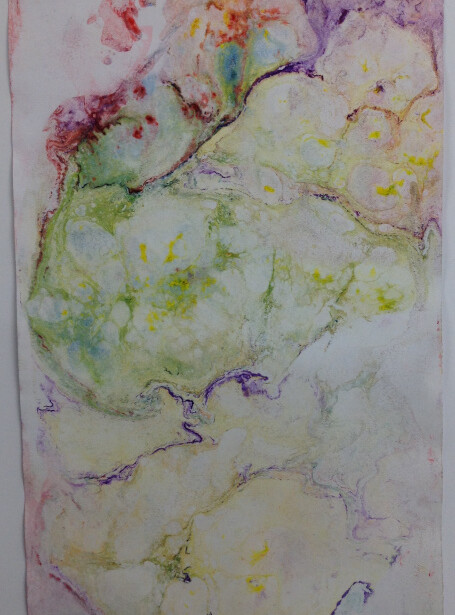
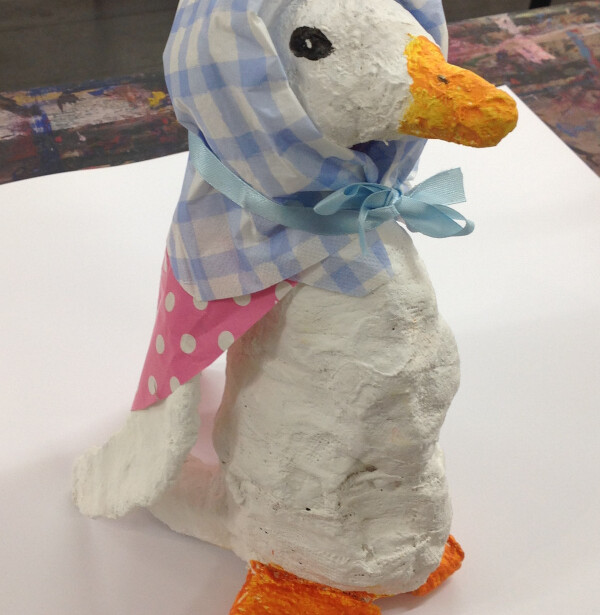
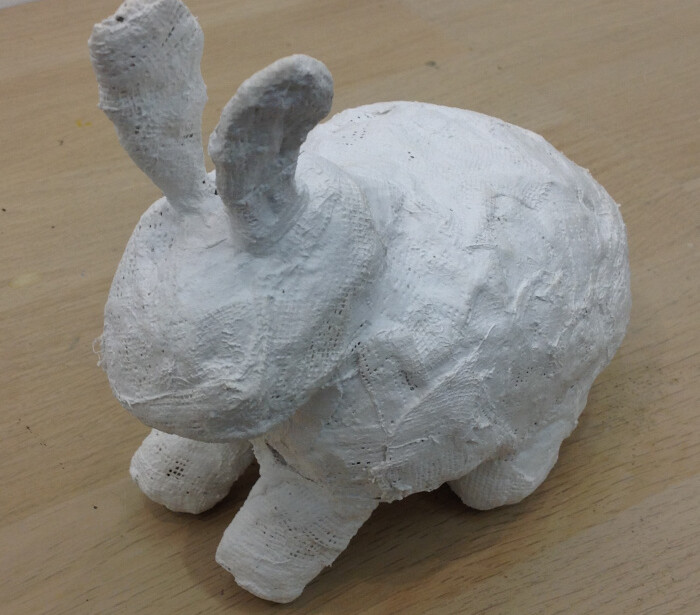
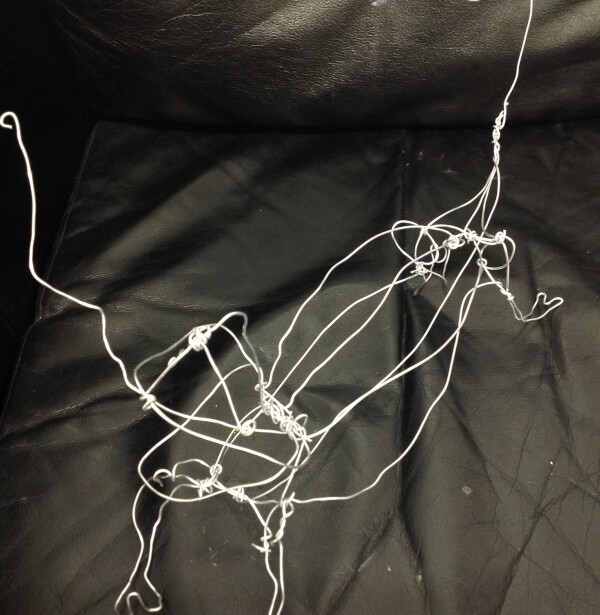
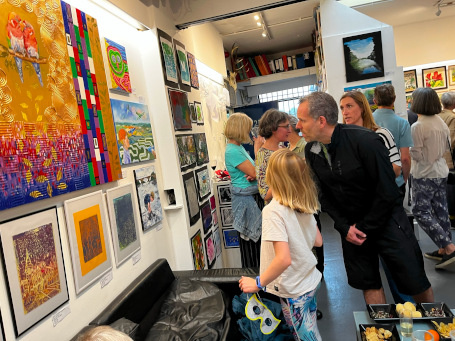
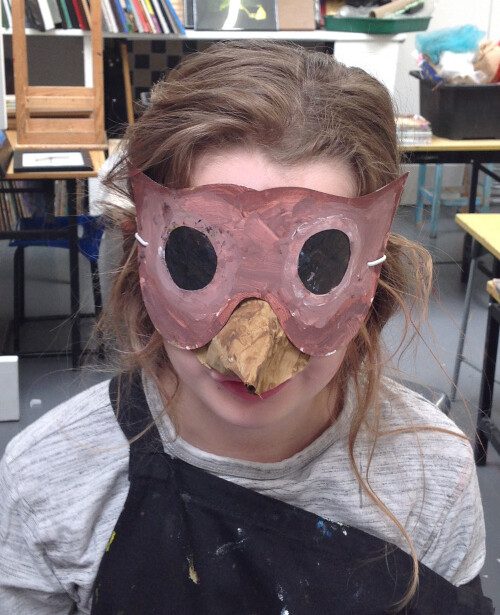
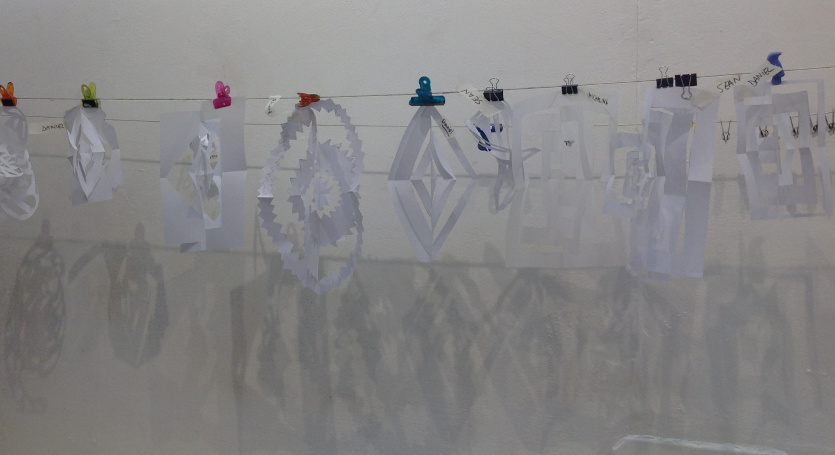
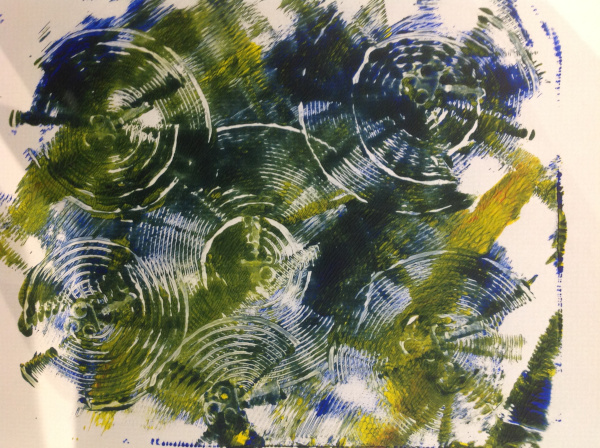
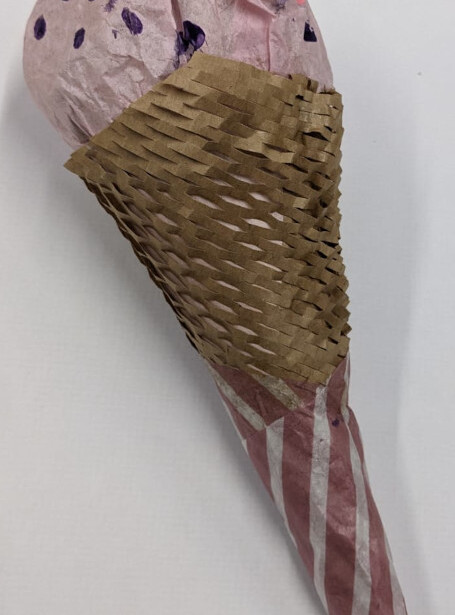
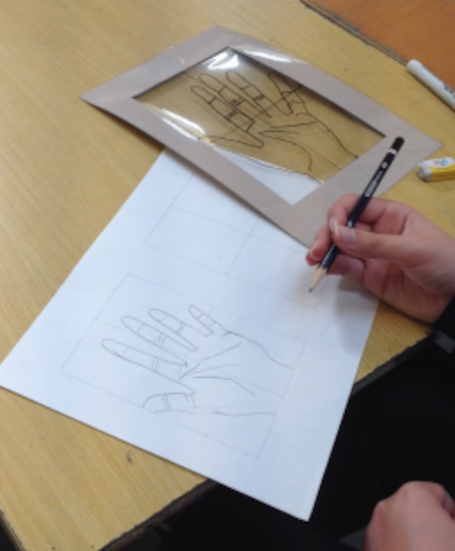
All Posts

Asemic writing – week 4

Asemic writing – week 4

This week I introduced the kids to asemic writing – that is wriiting which has no intelligible meaning. It looks like script, or ideograms, with specific characters but yet those characters do not correspond to any actual symbols – hence the word asemic – non-signs. It’s amazing what can be conveyed trough signs, without those signs meaning anything – they are always full of energy and emotion. I came across this through the work of Henri Michaux. He was really interested in different…

Block printing letters – week 3

Block printing letters – week 3

This week we we did block printing by sticking foam letters onto small pieces of wood. We then rolled printing ink onto them, stamped them and then repeated this several times to make a pattern. This could become a monogram but I also encouraged the kids to see the letters as simply shapes, rather than letters, and to see what kind of patterns they could create with them.Some even managed to make pictures with their letters!

Gelli printing letters

Gelli printing letters

This week we experimented with making letters via gelli plates. This is a kind of mono-printing but you use acrylic paint and instead of glass or perspex the plate is made of gelatin. This gives is a spongy texture into which you can press stencils and textured objects, as well as the usual monoprinting techniques.

Designing fonts  – week one

Designing fonts – week one

The theme for this term’s classes is text. Artists have used text in a wide variety of ways, and not always legibly. Think of Picasso’s use of newspapers in his collages, or Michaux’s development of asemic writing (week 2). Of course then there is illustration which uses text as the inspiration and comic books which marry words and images to create something else. We will look at all these are more during this term. For our first session we focused on inventing our…

Building houses out of fabric

Building houses out of fabric

foThe last two weeks of term we managed to build and paint spectacular houses, as well as finish off the hats, the transfers and anything else left finsihed ready for the exhibition next week. The houses were made with cotton fabric stiffened with PVA, a technique learned from fabric artist Angie Hughe.  This was done before the class and left to dry outside in the sun. The result was a fabric that behaved more like card, so it could hold its shape, particularly…

Hats glorious hats!

Hats glorious hats!

This week we got to try out some millinery – using vilene (stiffened fabric), metal hair bands and sinamay (the net stuff that milliners use). AS well as my box of random fabrics. We had a wide range of designs from the pre-existing such as (tiny) top hats, witches hat and beefeater hats to the completely new such as the drooping swan and the fire hat. The stapler was invaluable here as a quick and easy way to attach the fabric without waiting…

transfer dyes – good for bags, t-shirts etc.

transfer dyes – good for bags, t-shirts etc.

Over two weeks (along with hat making – see my next post) the kids have been working with iron-on transfer dyes, also called disperse dyes. Here you paint onto paper and when it is dry you can iron what you’ve painted onto fabric. This is a great technique to play with as you do not have to simply transfer what you paint, you can cut it up, and mask areas when you are transferring – very much like printing. The first step is…

Shibori – also known as tie-dye

Shibori – also known as tie-dye

We were tying ourselves in knots this week – intentionally, and imaginatively. Different knots and folds, around different objects (such as small stones and lolly sticks), and with different ties (elastic bands or cable ties) created different and amazing effects. In order to ensure the dye is reasonably colourfast – i.e. the dye won’t all run out in the wash – I soaked the fabric (100% cotton) in soda ash first. You could add soda ash to the dye instead but this means…