Uncategorized

Painting with a palette knife

Painting with a palette knife

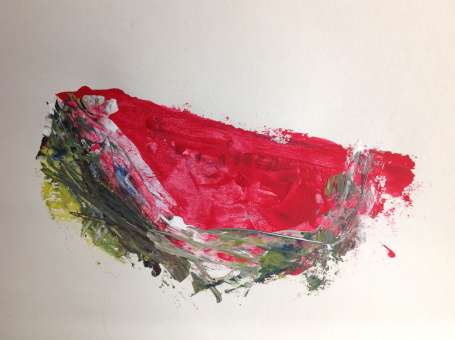
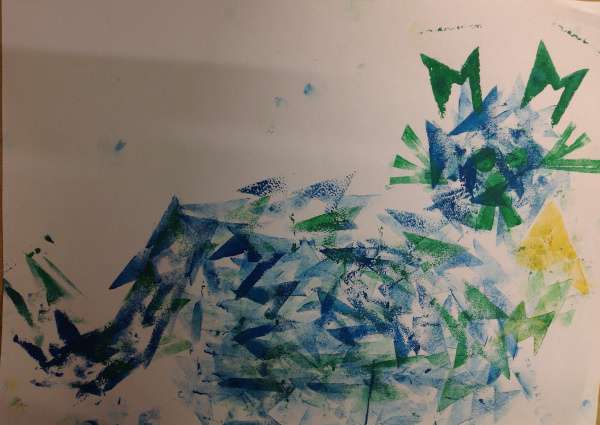
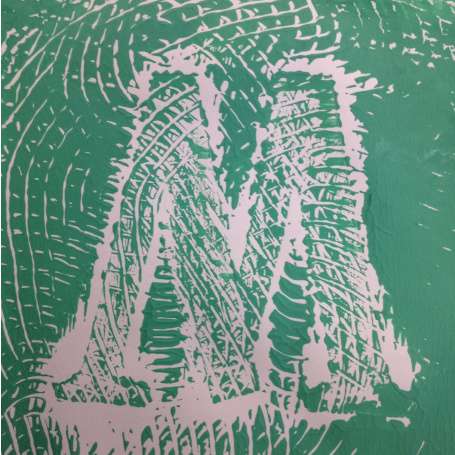
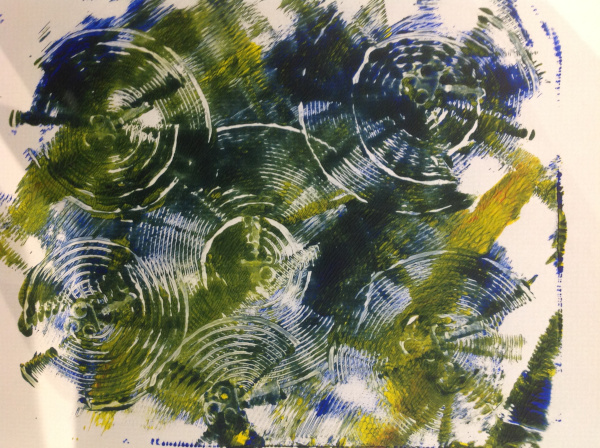
Did you know that although palette knives were used for centuries to mix paint it’s thought that it wasn’t until Rembrandt that artists actually thought to use them to apply the paint to  the canvas? I suppose until then painters required the greater control that a paintbrush could give them, and the rough, scratchy marks a palette knife could give were not so interesting. More fool them I say because palette knives are amazing painting tools, as we demonstrated this week! Palette knives…

Comics! Comics! Comics!

Comics! Comics! Comics!

This week we looked into writing/drawing comics/graphic novels. We discussed how they manage to combine words and text together to create something that is more than the sum of it’s parts. I showed them how really the action in a comic happens between the boxes – the gutter – and in the imagination of the reader as the comics can only portray still images. But these still images can also use various tricks to convey movement – from movement lines, blurred images, blurred…

Asemic writing – week 4

Asemic writing – week 4

This week I introduced the kids to asemic writing – that is wriiting which has no intelligible meaning. It looks like script, or ideograms, with specific characters but yet those characters do not correspond to any actual symbols – hence the word asemic – non-signs. It’s amazing what can be conveyed trough signs, without those signs meaning anything – they are always full of energy and emotion. I came across this through the work of Henri Michaux. He was really interested in different…

Block printing letters – week 3

Block printing letters – week 3

This week we we did block printing by sticking foam letters onto small pieces of wood. We then rolled printing ink onto them, stamped them and then repeated this several times to make a pattern. This could become a monogram but I also encouraged the kids to see the letters as simply shapes, rather than letters, and to see what kind of patterns they could create with them.Some even managed to make pictures with their letters!

Gelli printing letters

Gelli printing letters

This week we experimented with making letters via gelli plates. This is a kind of mono-printing but you use acrylic paint and instead of glass or perspex the plate is made of gelatin. This gives is a spongy texture into which you can press stencils and textured objects, as well as the usual monoprinting techniques.

Designing fonts  – week one

Designing fonts – week one

The theme for this term’s classes is text. Artists have used text in a wide variety of ways, and not always legibly. Think of Picasso’s use of newspapers in his collages, or Michaux’s development of asemic writing (week 2). Of course then there is illustration which uses text as the inspiration and comic books which marry words and images to create something else. We will look at all these are more during this term. For our first session we focused on inventing our…

Shibori – also known as tie-dye

Shibori – also known as tie-dye

We were tying ourselves in knots this week – intentionally, and imaginatively. Different knots and folds, around different objects (such as small stones and lolly sticks), and with different ties (elastic bands or cable ties) created different and amazing effects. In order to ensure the dye is reasonably colourfast – i.e. the dye won’t all run out in the wash – I soaked the fabric (100% cotton) in soda ash first. You could add soda ash to the dye instead but this means…

weaving – with wool, fabric, ribbons, threads…

weaving – with wool, fabric, ribbons, threads…

This week we made our own looms out of cardboard (cut along two edges with pinking shears) and used them to weave amazing patterns using wool, fabric, threads, ribbons – all sorts! The colours the kids combined were fantastic. This activity suits those who like to work slowly – really getting into the zone – rather than those who are easily  bored with repetitive activities. It’s also one for those who like working with different textures – all the results are just begging…

Needle felting – 2d and 3d

Needle felting – 2d and 3d

This week everyone did a lot of stabbing – though of course not themselves or each other. Needle felting works by repeatedly stabbing the fleece with a special, barbed felting needle. This mats the fibres together and the felt gradually takes on a shape or form. You can do this 2d on top of pre-felt (semi felted fabric) or 3d to make small forms (most made animals). Be careful to do the stabbing on top of a large sponge and be careful always…

Easy batik with glue!

Easy batik with glue!

This week we used glue instead of hot wax to form a resist against the acrylic paint. Originating in Indonesia, in batik  hot wax would be poured on using a tjanting (a kind of tiny pot on a stick with a hole in the bottom). Then when the wax is dry and hard paint is applied onto the material and it won’t go wherever the wax is. You can build up layers this way, and whatever colour is beneath the wax will be…

Using sewing as mark-making

Using sewing as mark-making

So this term we are exploring textiles – including felting, dying, weaving, and even construction. To kick off we started with sewing, a fundamental skill so many are denied the opportunity to learn these days. And one that will come in handy throughout the rest of the term. This wasn’t sewing as a technical exercise – instead I encouraged the children to see the thread as another way to make a mark, just like with a pencil or a brush. The size, direction…

Finished paper clay sculptures

Finished paper clay sculptures

So it was the last week of term this week and the kids  finished their paper clay sculptures, using either paint or torn paper (decoupage). I particularly loved the decoupaged ones which added a lovely texture, in keeping with the paper clay, as well as incorporating interesting patterns. But of course, the paint gave more control over the colours and texture. And some used both – see the goose and the perfume bottle! And one child even made a whole habitat for her…

Sewing sculptures

Sewing sculptures

This week and I challenged everyone to make paper/card sculptures with no glue or sellotape – only stitches! We used Barbara Hepworth for inspiration, particularly her pieces involving holes and wire, and discussed how we could achieve similar effects using toilet rolls, card and thread, as well as a hole punch for the holes.. It really is amazing what shapes and forms can be created just by cutting, folding and stiching together. And while most went for abstract,,Mateo manged to make a fish!

Wire and modroc sculpture – part 2

Wire and modroc sculpture – part 2

This week we were ready to add modroc to the wire sculptures we made last week. Though of course for some, the wire was a perfect medium for their creatures and they started afresh today. The trick with the modroc is to keep it wet while you’re working. If you let it dry it’s harder to add more layers, or to alter the ones you have. For this you also have to keep your water fresh – once it’s cloudy it needs replacing.…

Wire and modroc sculpture – part 1

Wire and modroc sculpture – part 1

For the last three weeks of term we are working on a sculpture project. First step was making the armature using aluminium wire. The kids chose a wide range of objects – animals, food items, flowers and body parts. The trick was working with a long piece, and leaving enough space to join the next. We had wire cutters and also long nose pliers for bending and manipulating the wire, which gives more control than using fingers. I showed them how to join…

Easy blending with oil pastels

Easy blending with oil pastels

So this week we tacked oil pastels. Technically this is painting but it feels much more like drawing. To create the most vibrant colours I suggested using three colours which are close together on the colour wheel in every section – so never using one pastel on it’s own. Then if you use each one in small circles, leaving tiny gaps, rather than blocking in an area like a felt tip pen, when you add another colour to fill in the gaps you…

Articulated creatures – ready to animate!

Articulated creatures – ready to animate!

This week we made articulated creatures – so creatures with movable limbs. This activity really tested the kids’ ability to think like an engineer. After drawing their creature normally they had to work out which parts would move, then draw those parts separately, scaled up, not forgetting to include space for the parts and the body to overlap to contain the join. Not as easy as they first thought! The joins were simple wire spirals made on the front and back. This enabled…

Playing with stencils

Playing with stencils

This week we had great fun designing and making stencils. Using craft knives very carefully and either card or acetate the kids made really fun and interesting stencils, which they then worked with very imaginatively – working out how they could overlap as well as playing with the colours (high contrast worked well) and the sponges on sticks we used were great to blend with. It’s a really versatile print making technique.

Lines, beautiful lines

Lines, beautiful lines

This week everyone was focused on making new lines – how by varying the implement, or how you hold and move it, you can convey different movements, emotions and feelings, even if drawing the same object, or none! To start with I asked everyone to work on the floor, in pastel or chalk and on big paper so they had to use their whole arm – not just their hands. Their task was to invent lines to convey different movements e.g ice skating,…

Simple printmaking technique using paper

Simple printmaking technique using paper

This lesson was all about frottage – that is rubbing. So of course the children scoured the studio looking for different textures to make rubbings from, and investigated how moving the paper while you rub can achieve interesting effects (especially over the edges of the tables). But in addition, I showed them another really easy printmaking technique based on rubbing where you cut out paper shapes, stick them (in layers if wanted) on a piece of paper to make a plate, and then…

Fun with the photocopier

Fun with the photocopier

Woo we are back – old and new faces, and a new class for teenagers! First week started irreverently with ‘updating’ (which could mean defacing) our collection of art magazines. I wanted the students to choose an image that resonated with them and find a way to change or update it. This could be with scissors, marker pen and/or the photocopier.  Love what several did with splicing different images together (or the same one, changed) or using the photocopier to multiply the image.…

Arty summer fun at our summer holiday classes

Arty summer fun at our summer holiday classes

As autumn approaches I’ve been thinking back to the fun we had during the summer holiday classes. We sculpted, painted, constructed, drew, stamped, built, cut, stuck, collaged, printed… and more! Particularly loved the papier mache constructions  so simple but effective. Make simple cardboard and/or newspaper base – we had a rabbit, a bus, a boat, a crown, a cake – it really can be anything as long as it’s stable enough – and then cover it in newspaper strips dipped in diluted PVA.…

End of Year Exhibition at Art Class London!

End of Year Exhibition at Art Class London!

To showcase all we’ve achieved this past few years – both in person and online – we had a fantastic exhibition of art work by the adults and children who’ve been attending our art classes – supporting and being supported by Art CLASS London. It was a really lovely evening, full of joy and celebration, and a great chance for all our artists to meet and share their experiences and achievements. These kinds of events where artists can get together and not only…

Mask making – wild, elegant or strange!

Mask making – wild, elegant or strange!

It was the last week of term this week so we made masks ready to wear for the end of term exhibition! We had templates to start with but many children decided against these weren’t the shapes they wanted and they needed to start from scratch. I’d provided lots of different materials to attach to them (sequins, feathers, cardboard packaging, patterned papers etc.) as well as paint. Some children even added sculptural elements like beaks and horns. The results were all so different…

What can you make out of a plain white sheet of paper? Beautiful sculptures!

What can you make out of a plain white sheet of paper? Beautiful sculptures!

This week the challenge was to make sculptures out of some sheets of white paper (and some tracing paper for an interesting alternative). After demonstrating how to safely use scalpels I showed them some basic methods to start with, but many invented their own methods. No sellotape and only small amounts of glue were needed to make these intricate and delicate sculptures – some were creatures, some were abstract, all were beautiful. This was a challenge set by Josef Albers to his students…

Discovering gelli plate printing with children: getting brilliant effects with acrylic based mono printing

Discovering gelli plate printing with children: getting brilliant effects with acrylic based mono printing

It’s week 8 and the children have been experimenting with gelli plate printing. Gelli plates are a flexible printing plate that you can use acrylic paint with to create amazing textures and layers of colour. The kids used a wide range of different methods – including adding on paint, taking paint off, masking areas/letters off, adding textured objects and layering colours – to name just a few! The process is very quick so they all produced loads of pieces (and being acrylic they…