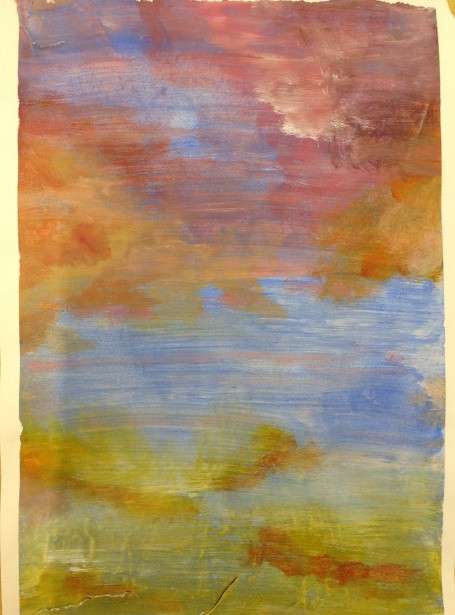
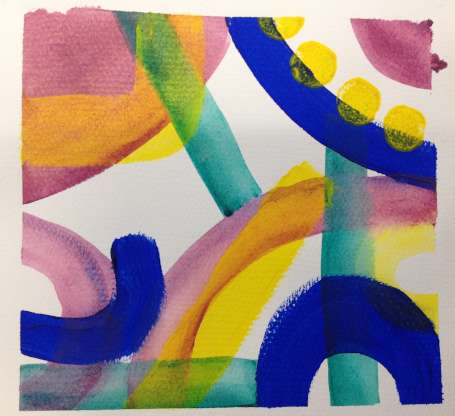
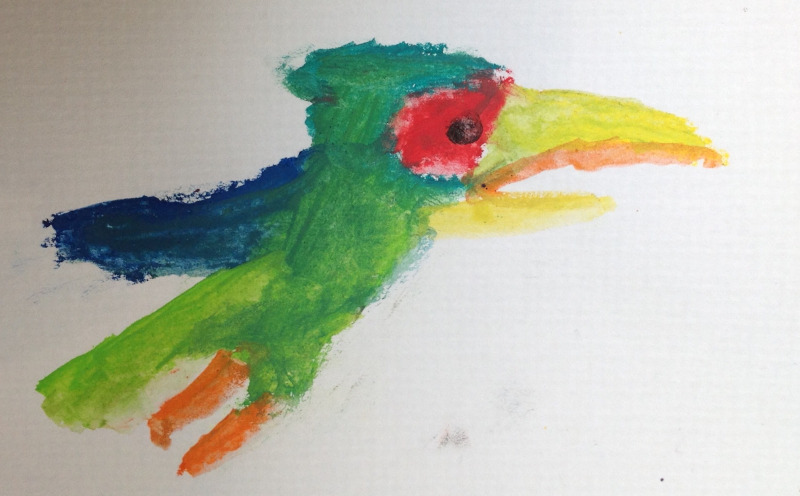
This week we tackled glazing and blending in acrylic. Instead of a still life, I suggested splitting up the paper into sections with masking tape in order for each box to be a different experiment. We used soft brushes in order to get a softer effect than is possible with the stiffer ones, and diluted the paint with water in order to build up translucent layers. It’s a great technique for making abstract patterns – I could imagine many of the results as…

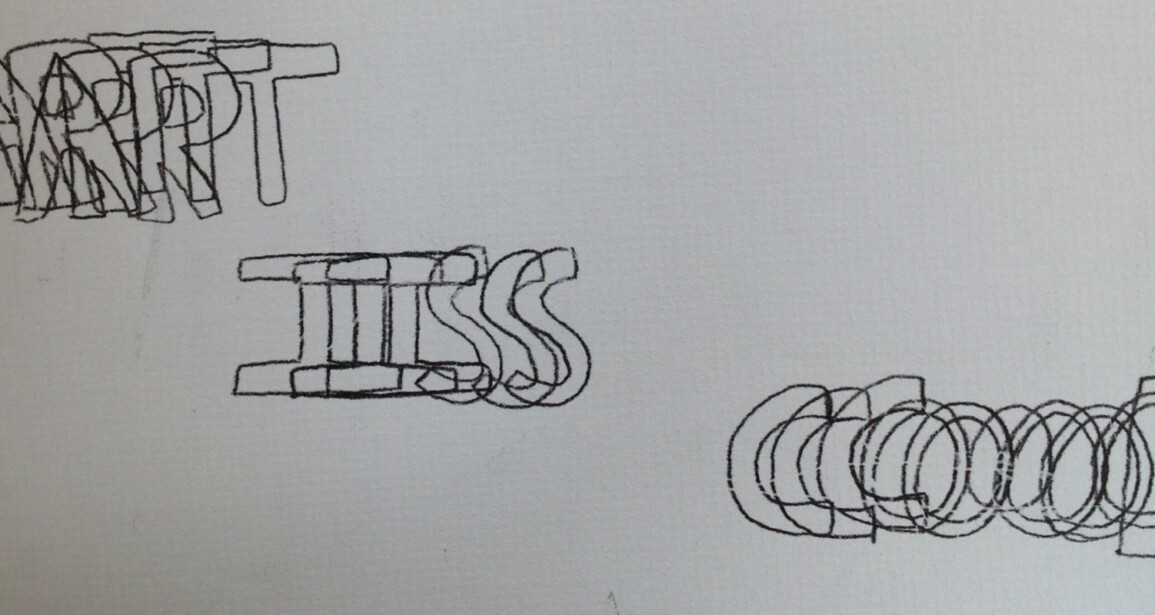
This week I asked the kids to make book covers. What book was up to them, and what age. I showed them some examples, and we talked about what makes a good cover, how you need to match the font to the style and content of the book, how book covers indicate for what age they are meant etc. And then of course, some weren’t satisfied with just a cover and made a whole book! Some of our older children wanted instead to…
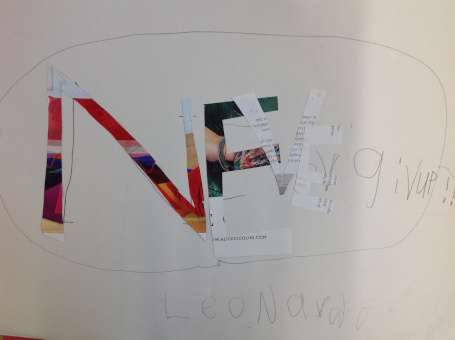
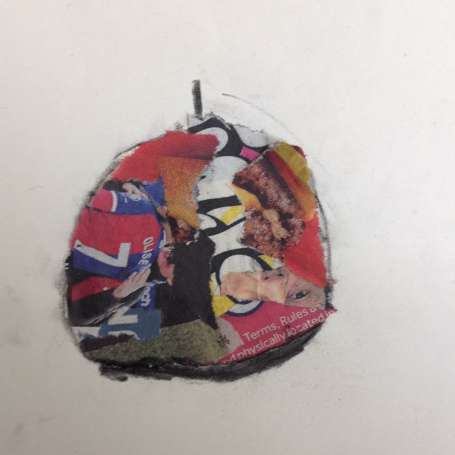
Continuing our theme of text, this time we used text (in the form of newspapers) for its different tonal values. Different sized text torn up will create different tonal shades – dark to light – and with that you have you palette and can create anything.Some also couldn’t resist adding a bit of colour from the newspapers! I assembled a group of fairly simple fruit, veg and white porcelain cups. As a warm up activity, we did ink and charcoal drawings of the…

foThe last two weeks of term we managed to build and paint spectacular houses, as well as finish off the hats, the transfers and anything else left finsihed ready for the exhibition next week. The houses were made with cotton fabric stiffened with PVA, a technique learned from fabric artist Angie Hughe. This was done before the class and left to dry outside in the sun. The result was a fabric that behaved more like card, so it could hold its shape, particularly…

This week we got to try out some millinery – using vilene (stiffened fabric), metal hair bands and sinamay (the net stuff that milliners use). AS well as my box of random fabrics. We had a wide range of designs from the pre-existing such as (tiny) top hats, witches hat and beefeater hats to the completely new such as the drooping swan and the fire hat. The stapler was invaluable here as a quick and easy way to attach the fabric without waiting…

This week we used wire and fabric to make amazing sculptures. The idea came from Access Art but we didn’t use plinths this time, and the kids didn’t stick to people. The basic technique is to make a simple wire sculpture – e.g. a stick figure – and to cover it in strips of fabric ( I used a sheet from a charity shop). We used thin wire to keep wrapped around the fabric to keep it in place. Then they cut up…
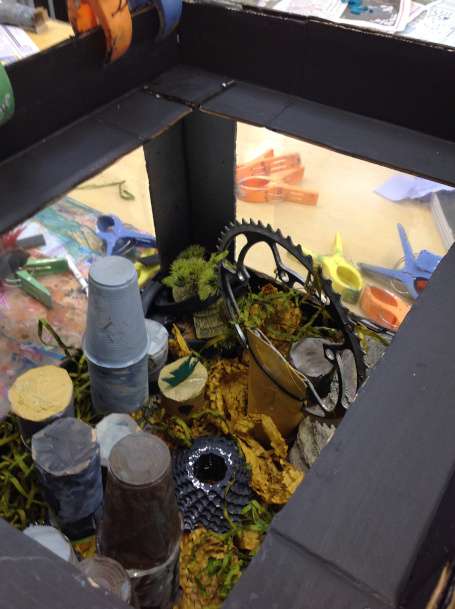
This half term we had another eclectic mix of activities on offer. The sculpture activities seemed particularly popular – including making abstract sculptures out of bike parts, more delicate sculptures out of wet toilet paper (surprisingly able to hold a shape) and of course many varied and imaginative cardboard creations! This time we also had a few bold children embarking on a 3-day project in which a small group designed and constructed a fish tank, complete with a futuristic city inside – called…
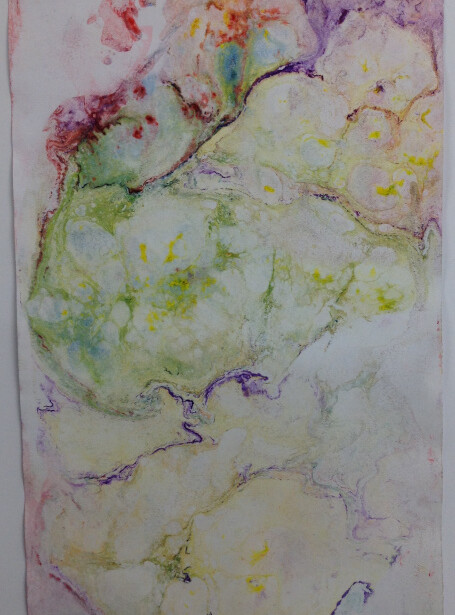
Exciting this week as the kids tried their hands at marbling – with some always unexpected, beautiful results. Marbling is an ancient technique of paper decoration, in which paint is dropped into the ‘size’ which is water thickened with a special powder. (traditionally a type of seaweed). Because of this thickener the paint sits on top of the surface of the water and from there it’s possible to take a print. Before you do that though you can manipulate the paint on the…

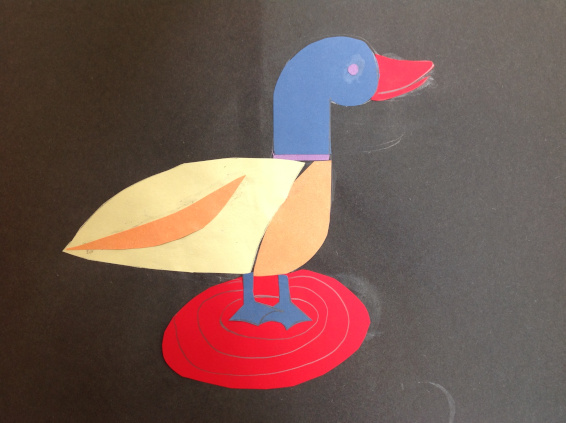
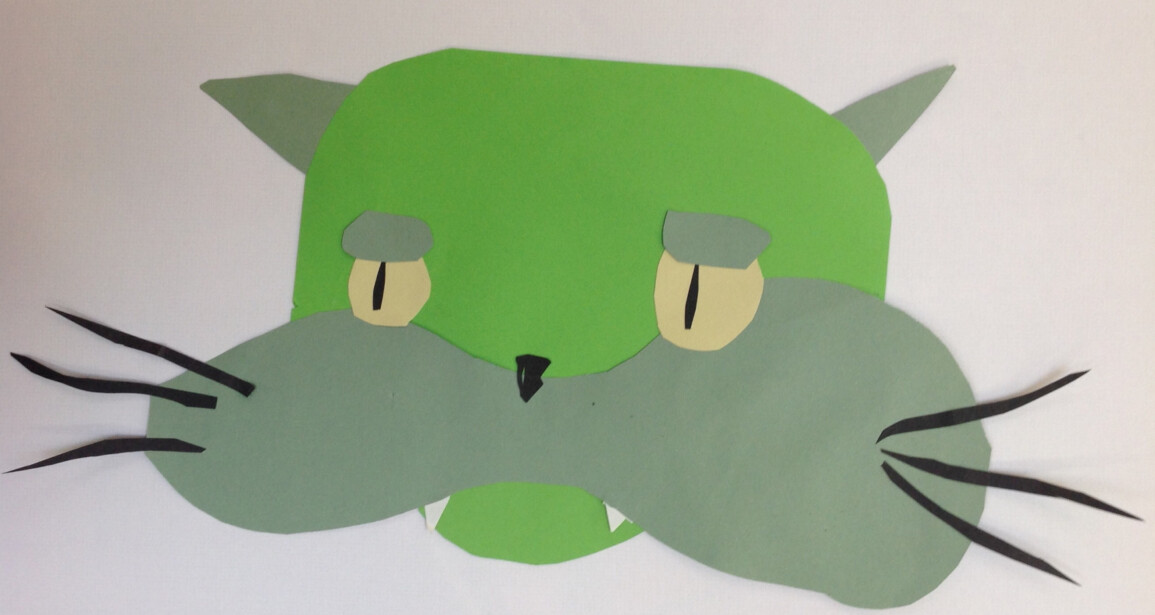
Week 2 and this week we made paper mosaics. But we weren’t limiting ourselves to the simple, regular square types, oh no. We had strips, rectangles, dots, the lot! And used magazines as well as coloured card. A really simple technique, ideal for the younger ones, is to cover a piece of paper in strips and then on the reverse draw the outline of an animal (remember to choose an animal that is recognisable from its silhouettes – so generally this means side-on).…
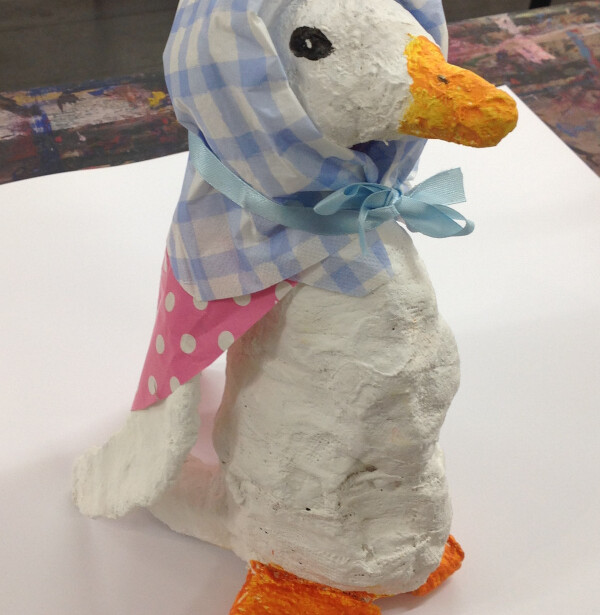
Last week of term this week so yes, it’s time to paint the modroc sculptures! Everyone came with brilliant ideas of how to paint the sculptures they’ve been making the past two weeks. We used acrylic paint which is easy to paint details or corrections on top, once dry. Some even added other elements such as tissue paper wings or paper clothing. Love the results!
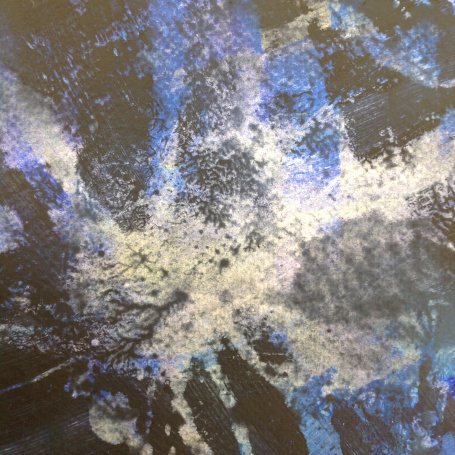
Now we have completed Mona Brookes’ drawing exercises (although of course everyone’s drawing will benefit from practicing them regularly!) we are moving onto working with much greater freedom and preparing for the end of term exhibition. So week 7 was all about painting but there was only one rule – no paintbrushes! Instead we had all manner of implements, many originally designed for cleaning! Including: scrapers, toothbrushes, combs, scourers, sponges, squeegees… The children were very inventive in their creations!
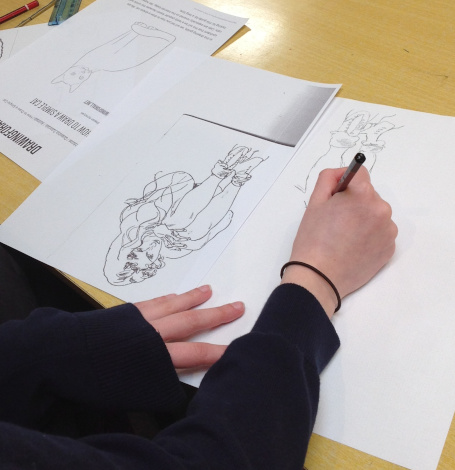
This week we tackled drawing upside down. The idea here is to try and disengage the thinking side of your brain and engage the visual. Often when we look we are scanning to take in everything that is there, recognising, categorising and interpreting it all. When it comes to drawing this doesn’t always help us because we are not looking at exactly what is there, we are trying to think about what is there. When we turn what we are trying to draw…
Moving on from copying abstract patterns last week, this time the lines and shapes made recognisable objects. The process was just the same though - observe where the lines and shape are, try to see them as just lines and shapes and copy! Some kids even made up their own simple versions from objects in front of them for others to have a go. Then they all played with line - and different qualities of line - via monoprinting and drawing with carbon…
Welcome to the Kids' Art Class London blog! First up, here are some highlights from our weekly children's art classes last term. We focused on solving artists problems, looking at how other artists have approached particularly tricky challenges and coming up with our own solutions. Topics included capturing the weather, drawing different textures, drawing with scissors, using abstraction, making mobiles, exploring surreal fantasies, making patterns in print, making wire mobiles and sculptures from bike parts and cardboard. The results were fantastic -…